The Hartford Residence: Foundation and Framing
When building a home, the most essential phase of the process is without a doubt, the foundation and framing. Setting up your home to be stable, safe, and secure is so important to the future life of that home and its occupants. Establishing the foundation requires a vast background on your piece of property, city ordinances, and up-to-date knowledge of foundation building practices. We’ve built close to 50 homes in the Austin area, and even more prior to moving to this market, so it’s safe to say we know what we’re doing when it comes to the structure and bones of a home. However, the Hartford Residence isn’t your typical custom home and the foundation turned out to be pretty unique too.
Phase 2: Setting The Foundation and Framing
There are several types of home foundations, from pier and beam to slab-on-grade foundations. Every home has different needs when it comes to the foundation and choosing the appropriate type hinges on your type of soil and the size of your home. In Austin, the ground is comprised mainly of bedrock or clay, both of which can be rocky and difficult to dig.
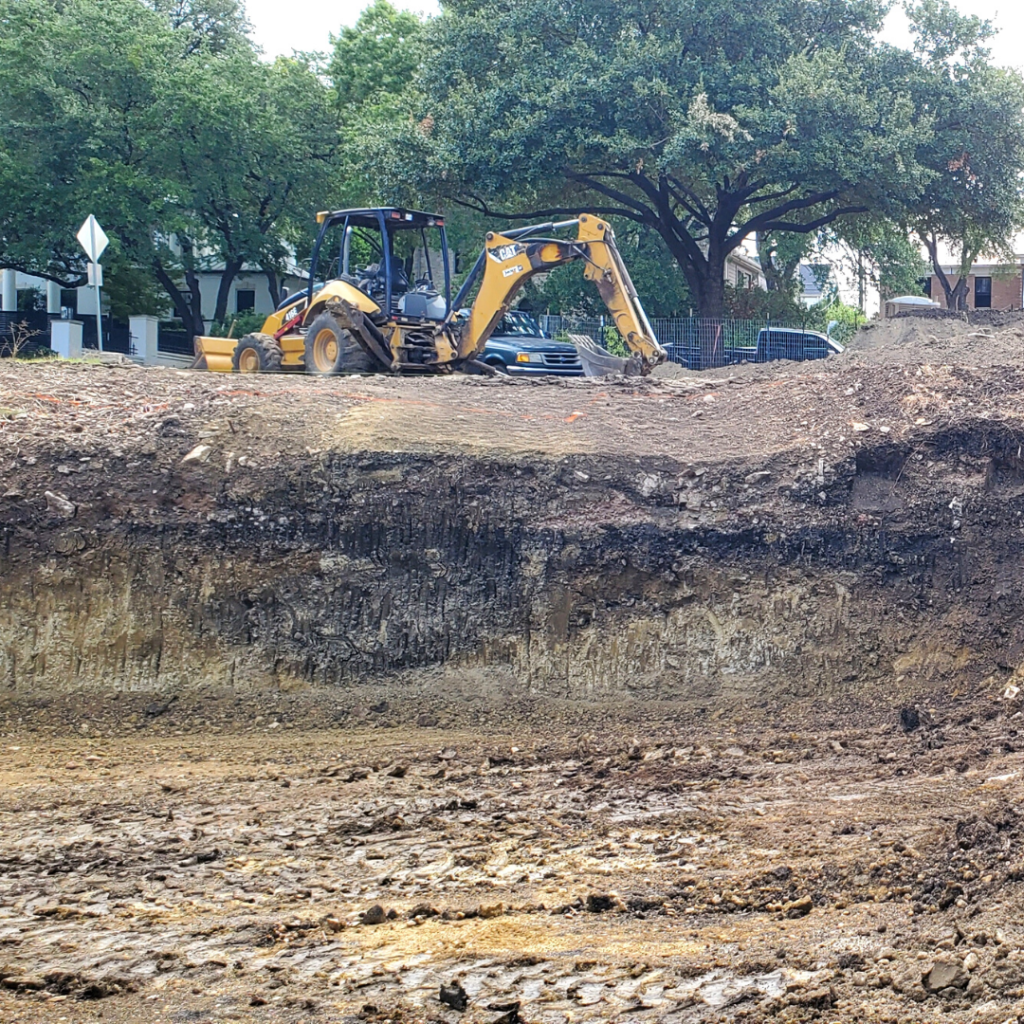
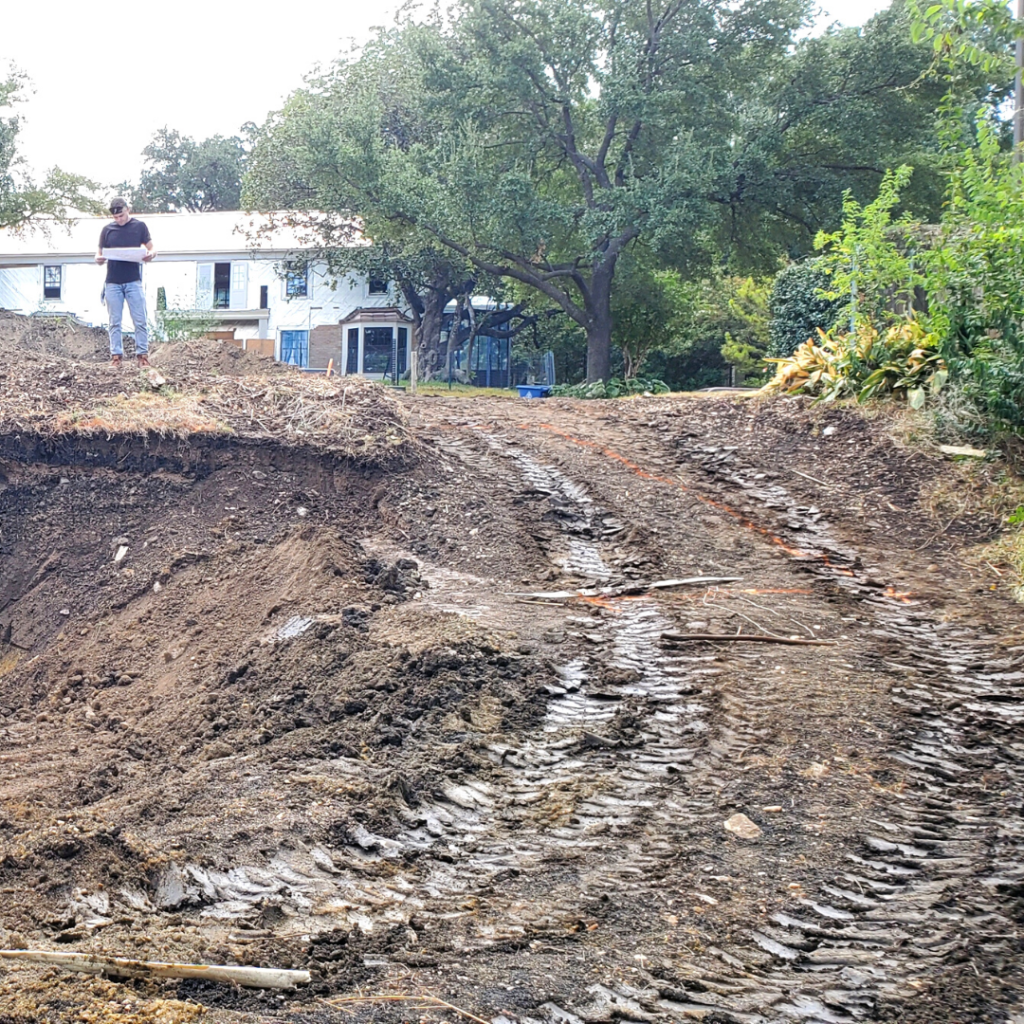
In some cases, a geotechnical survey will be conducted to assess the soil and determine the appropriate type of foundation, with the help of a structural engineer. For the Hartford Residence, we discovered early on that the property sits on land with a high concentration of clay. This clay, known as caliche clay is the most challenging type of ground when it comes to laying a foundation. This expansive soil requires an expert engineer to determine the best foundation and given the unique silhouette of the home and the added challenge concerning the uneven terrain, we settled on a Pier Foundation, to give the home ample stability.
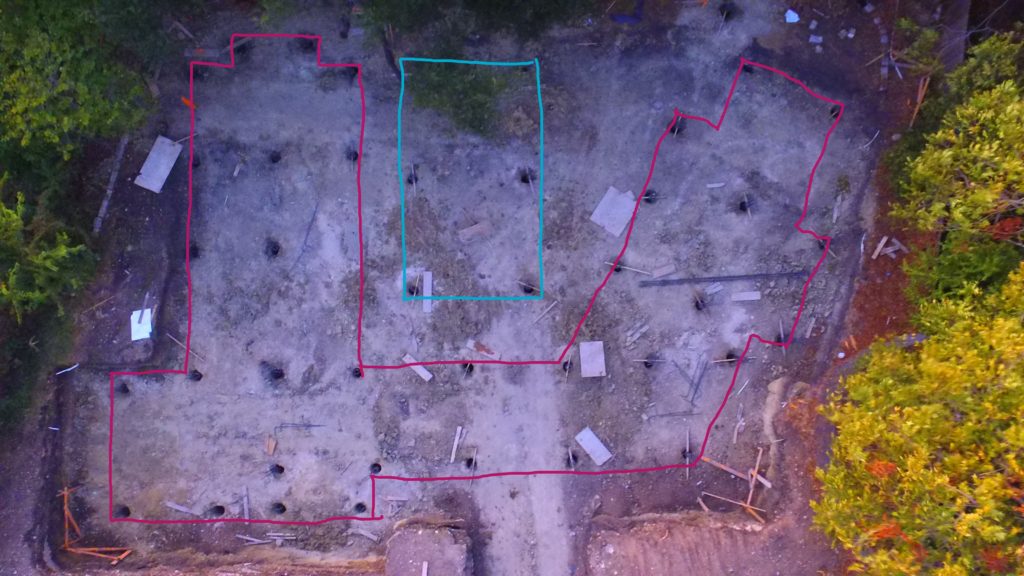
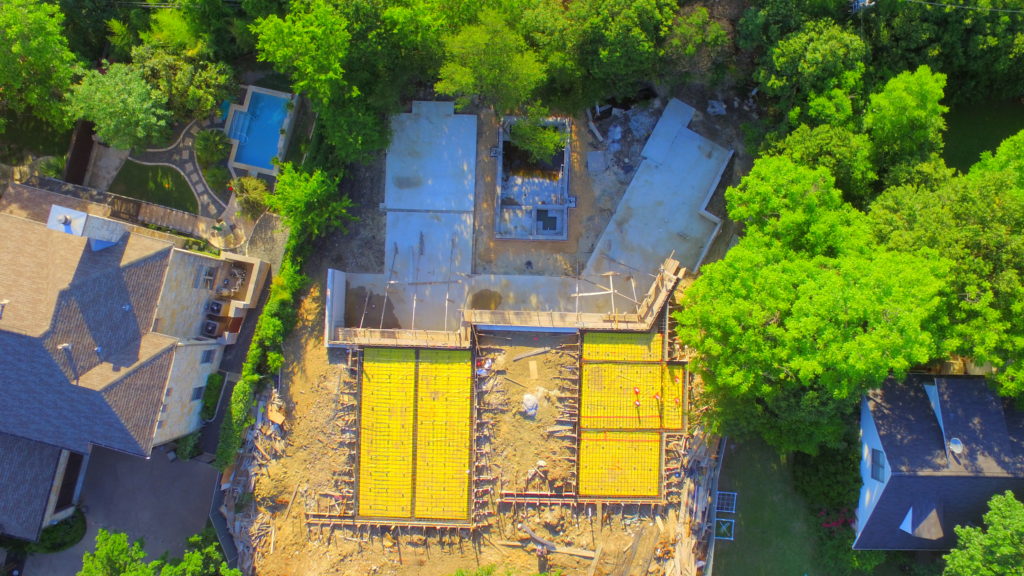
Given the multiple wings and multiple levels, a sprawling foundation with a number of slabs was the best option, versus the traditional rectangle shape.
Pier Foundation Benefits
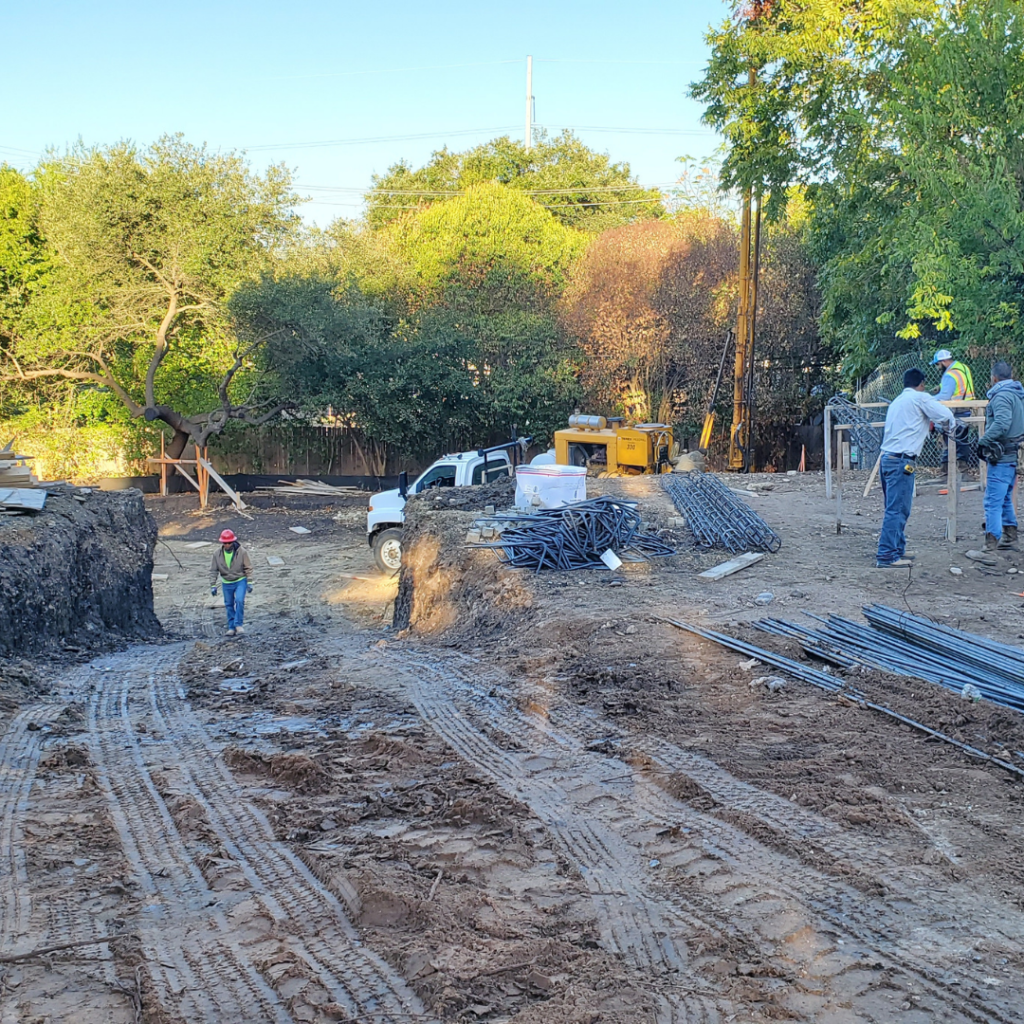
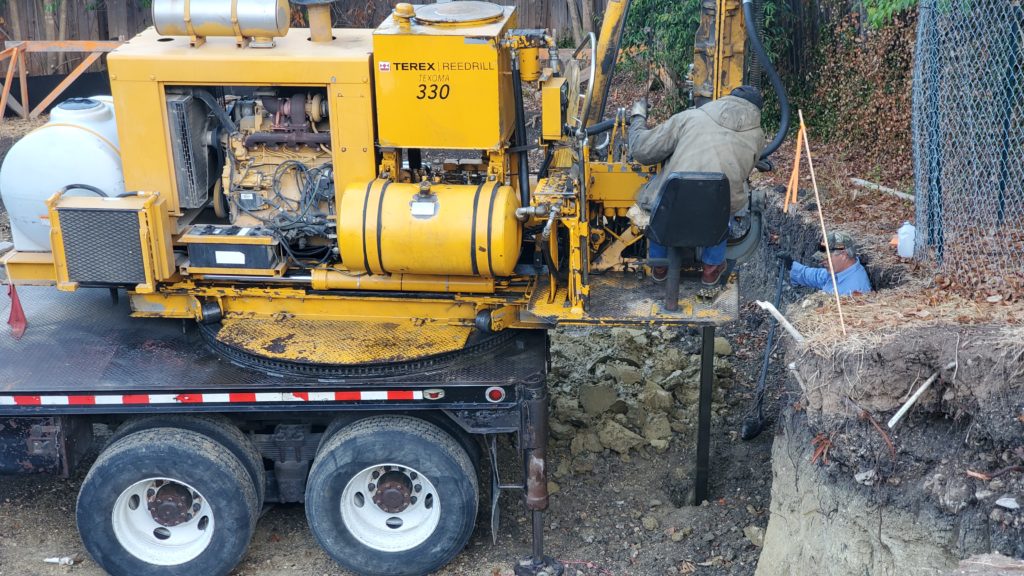
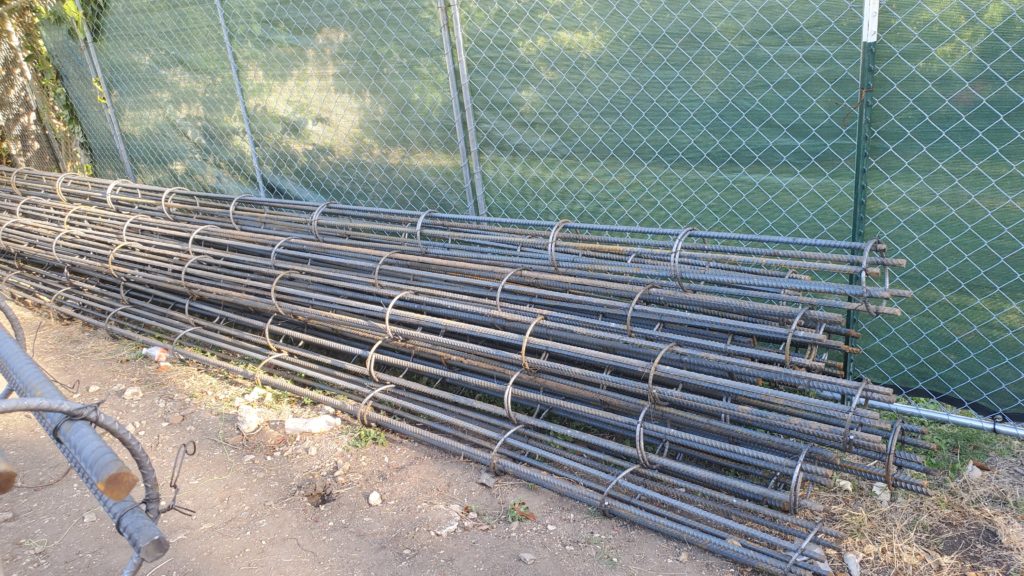
Once the ground is cleared and leveled, holes are bored 22 feet into the ground with a 3-foot wide bell at the bottom. The 12-inch diameter holes are then fitted with a rebar column, which helps to provide extra tensile strength, especially with multi-story structures. Once these are in, concrete is poured down into each column, until the bell hole at the bottom is filled and the column itself fills with concrete. For this project, we dug and filled close to 50 holes for the foundation.
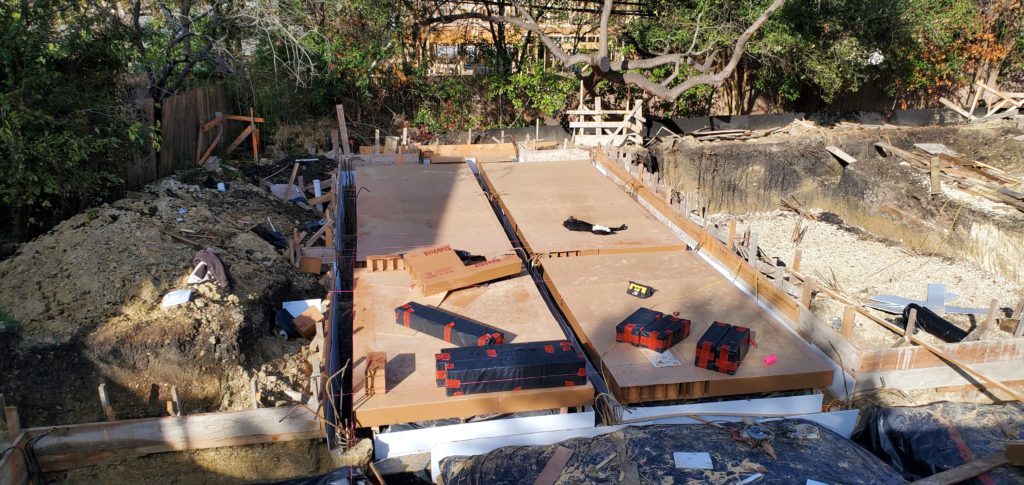
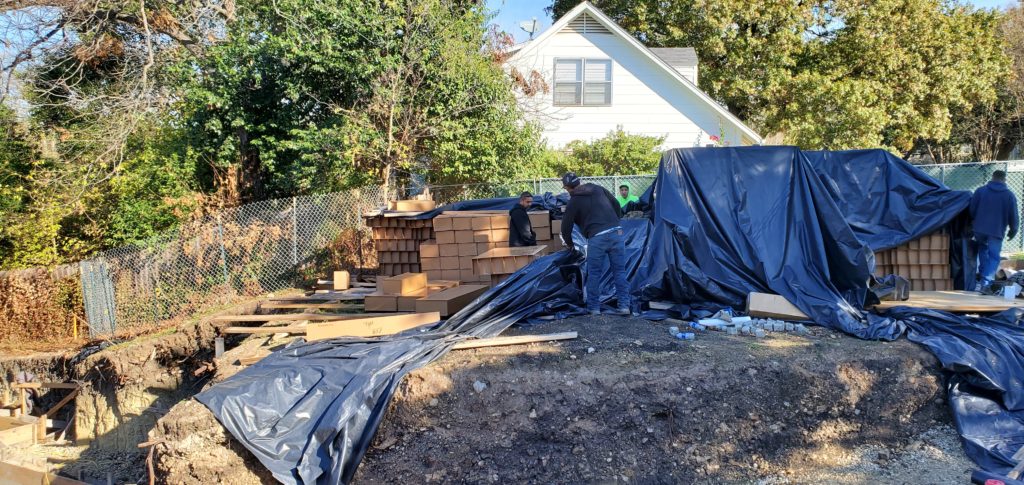
Next, large Void Forms are laid on top of the dirt across the foundation area. Void Forms again are not something typically used in a residential home, but given the complexity of this project and the ground composition, became necessary. A Void Form is made of double-faced, corrugated fiberboard that is wax coated and laminated with moisture-resistant adhesive. If the ground is wet or expands, these boxes will then absorb the moisture and movement, creating space between concrete structures and soil. By isolating the concrete from the swelling ground, the foundation is protected. Over time these boxes will decompose leaving a gap between the concrete portion of the foundation and the ground as it moves.
Foundation and Framing Process
We began by pouring concrete for the lower-level foundation first, seen here. As we worked our way through the foundation pouring process, a retaining wall was built to hold everything in place. Then the steel framing came next, followed by the wood portion of the framing and finally the floor tresses. Once the lower level of the home was complete, we moved on to the upper-level framing, which included the main floor of the home, the stunning 20 X 22’ window wall, and the garage. This is a multiple-phase process that requires a concerted effort by all our partners to work together through the different stages.
The foundation and framing phase of a home is a complex process, usually lasting a few months, but this one took 6 months from start to finish. With the Hartford Residence, although it took a long time to complete, we took every opportunity to ensure the best work was done for this large structure and very pleased with the results.
Continue Reading: Part 3: Plumbing, Electric, Insulation, Drywall, HVAC

comments +